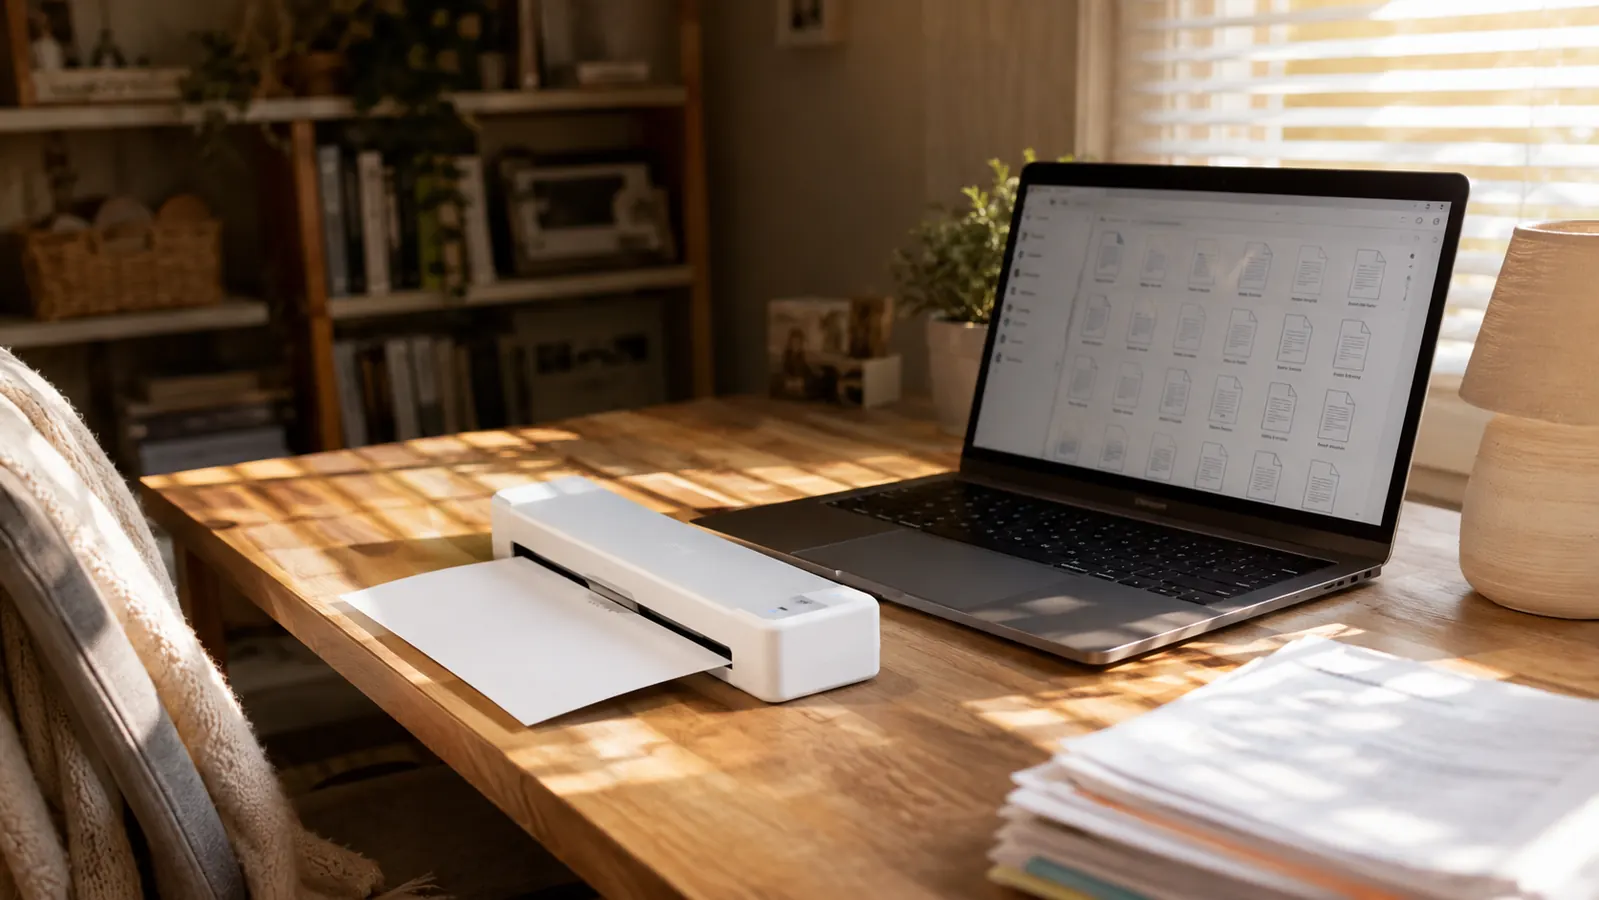
I'm Nate Colburn, and I've worked remote IT project management for eight years now out of a spare bedroom I converted into a real home office. For most of that time, going paperless was something I meant to do rather than something I actually did. I'd shred a stack of old bills every few months, feel briefly accomplished, and then watch a new pile form within two weeks. What finally broke the cycle wasn't a productivity app or a new filing cabinet, it was a compact scanner called the Brother DS-640 and a five-step system I built around it to keep my home office paperwork from ever piling back up.
This guide is that exact system. Not a vague pitch to scan more, but the specific order of operations I use to go paperless in a home office that still receives real paper every week, client contracts, invoices, insurance forms, and my kid's school notices. If you're a remote worker with a desk that keeps accumulating a stack you mean to deal with, this is the process that finally emptied mine, using the Brother DS-640 as the tool that made every other step possible. None of it requires a weekend project or a new piece of furniture, just five steps done in order and a scanner that's actually convenient enough to use every day.
Ready to Stop Living With a Paper Tray?
The Brother DS-640 is the compact document scanner this whole system is built around, small enough to sit permanently on a home office desk, fast enough to clear a backlog in short sessions, and simple enough to run without a subscription or a driver install headache. Check today's price on Amazon before you read the steps below.
Amazon Check Today's Price on Amazon →Step 1: Get a Scanner That Actually Lives on Your Desk
Every paperless system I tried before this one failed for the same reason: the scanner wasn't close enough to be convenient. An all-in-one printer in a closet or garage means scanning something requires getting up, walking, waiting for a machine to warm up, and probably fighting with a driver. That friction is enough to make most people just toss the paper in a tray instead, which is exactly what I did for years. The fix isn't willpower, it's removing the walk entirely.
The Brother DS-640 solved this because it's roughly the size and weight of a stapler and plugs directly into a USB-A port, no separate power brick, no bulky flatbed lid. It sits on the left side of my desk, next to the dock my laptop connects to every morning, and it stays there permanently instead of getting stored away. That single decision, treating the scanner as a fixture on the desk rather than equipment to be fetched, is what makes every other step in this guide realistic instead of aspirational.
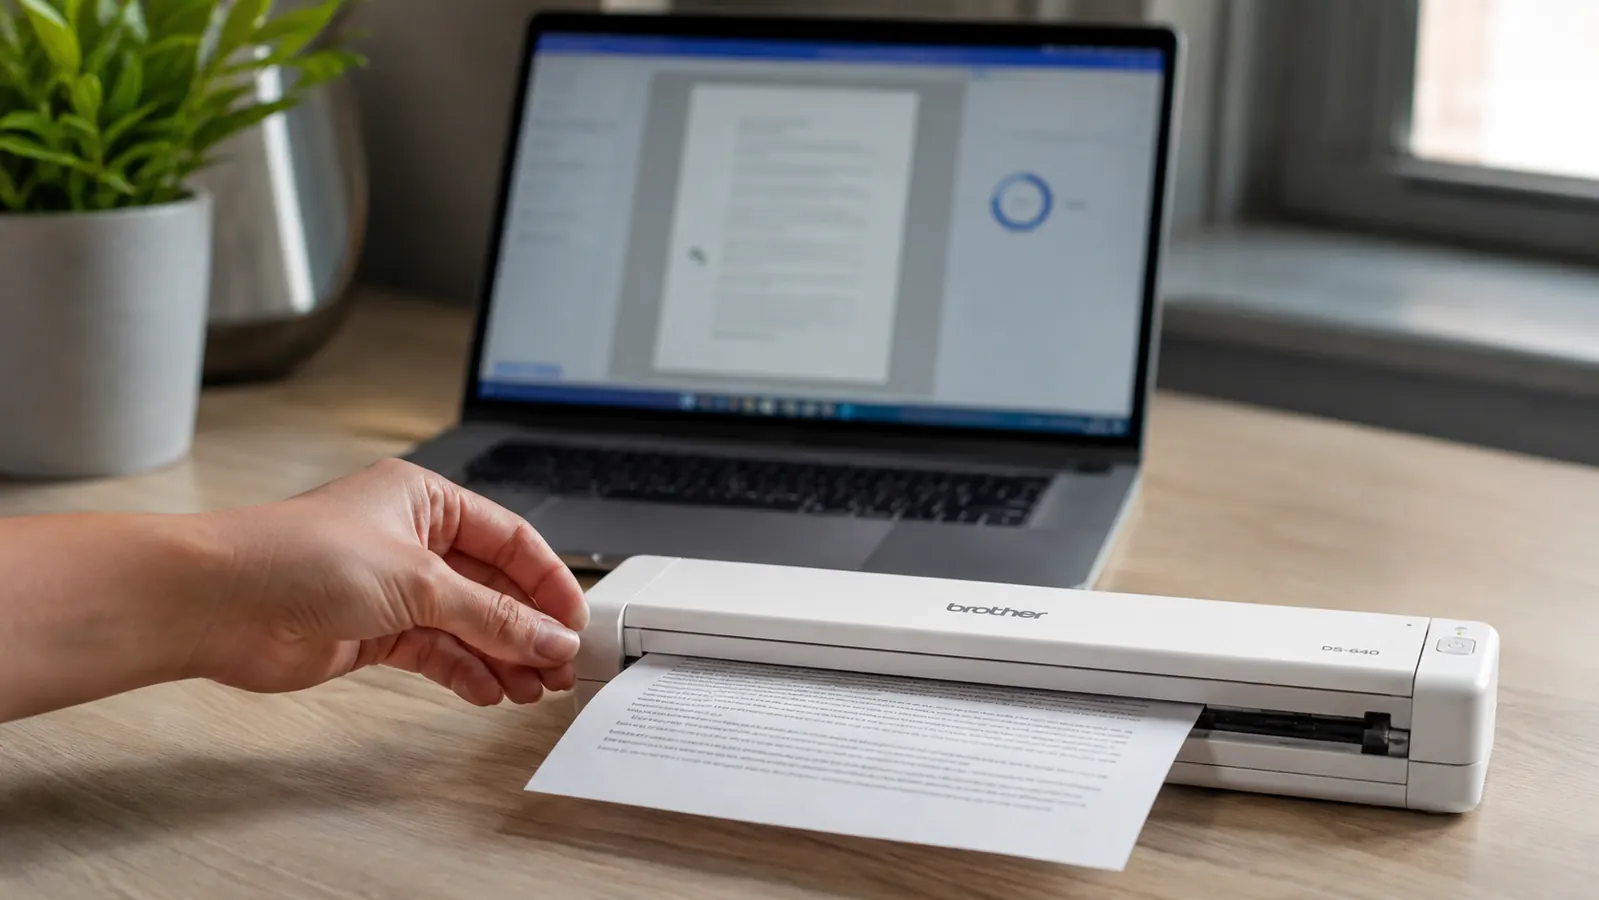
If you're shopping for the scanner that will anchor your own paperless home office, look for three things: a small enough footprint that it doesn't eat your desk space, single-sheet feeding fast enough that scanning doesn't feel like a chore, and software that outputs a searchable PDF rather than a flat image. The Brother DS-640 checks all three, scanning at roughly 16 pages per minute in black and white through Brother's iPrint&Scan software, with searchable PDF output built in and no account or subscription required to use it. Setup took me under five minutes the first time, plug it in, install the free software, and it was recognized immediately, no CD, no account creation, no upsell prompt.
Step 2: Build Your Folder and File-Naming System Before You Scan Anything
The biggest mistake people make when they try to go paperless is scanning first and organizing later. You end up with a folder called Scans containing four hundred files named IMG or Document with a random number, which is functionally the same as the paper pile you were trying to escape, just digital. Before I fed a single sheet through the Brother DS-640, I spent twenty minutes setting up a folder structure in the cloud storage I already used, split into a handful of top-level categories: Client Paperwork, Household, Insurance, Tax, and School.
Inside each folder, I use a consistent file-naming pattern, something like Client-Name_Document-Type_Date, so a scanned statement of work becomes Meridian-Health_SOW_2026-03. It's a small habit, but it means I can find any document either by browsing the right folder or by typing a name into search, without ever having to remember exactly where I filed it. Brother's iPrint&Scan software lets me set a custom naming template before scanning, so once I built this system once, I haven't had to think about it since.
This step matters more than the scanning itself, honestly. A scanner turns paper into files. A naming and folder system turns those files into something you can actually retrieve six months later when a client asks for a contract you signed in the spring. Spend the twenty minutes here before you touch your first stack of paper. Skipping it is the single biggest reason people give up on going paperless in their home office within the first month, because a disorganized folder of scans feels just as chaotic as the drawer it replaced.
Step 3: Clear Your Existing Paper Backlog in Short Batches
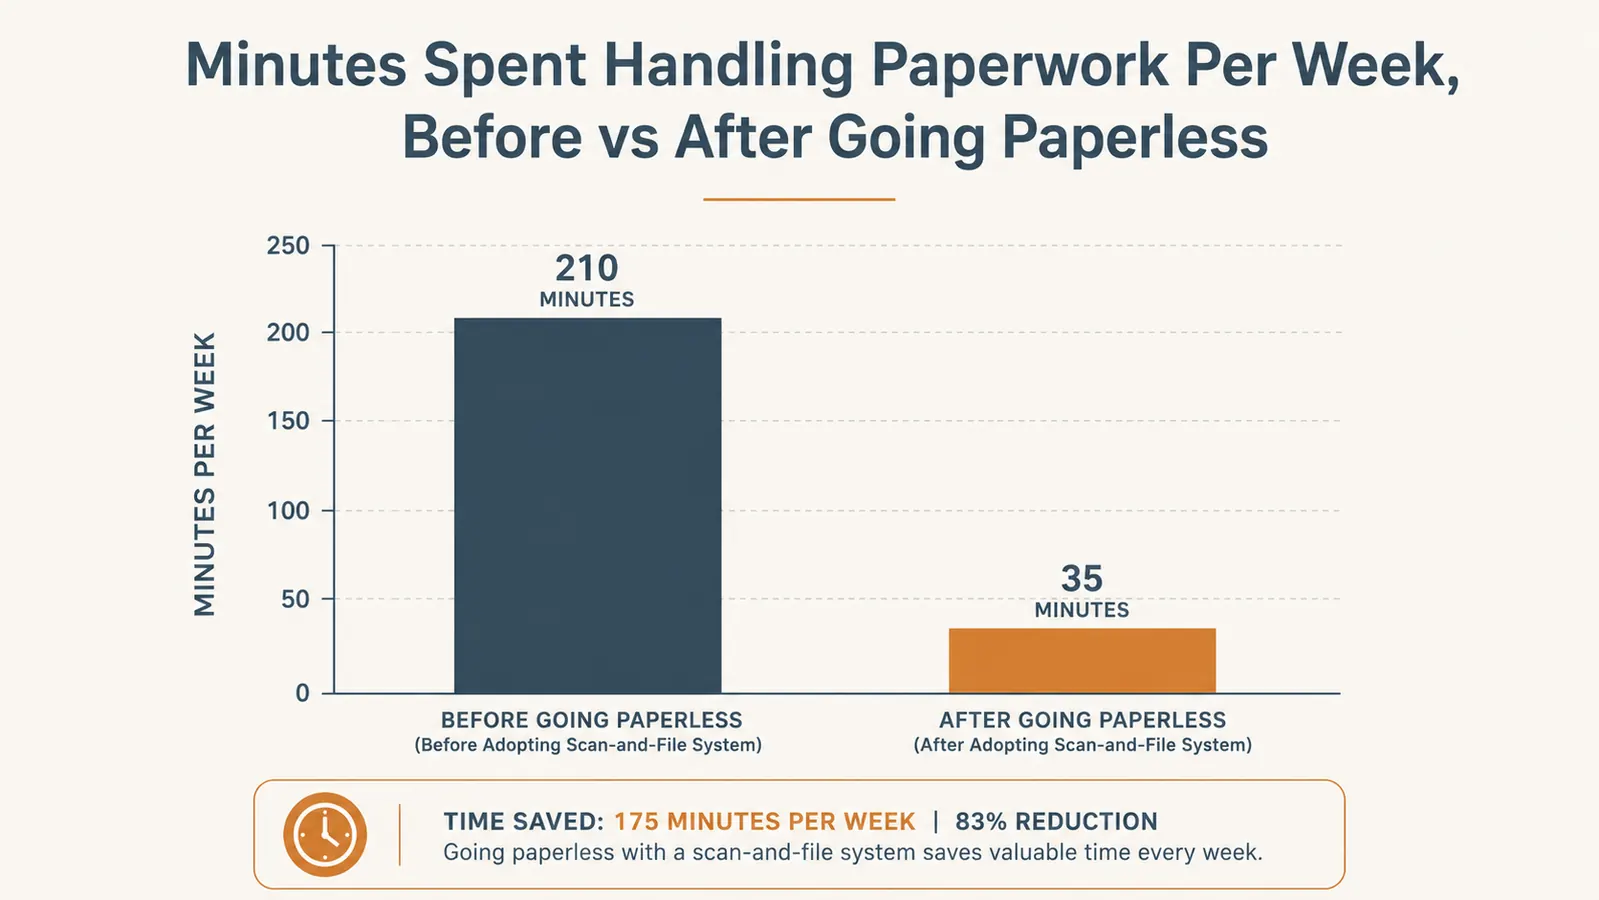
Every home office I've ever worked from starts a paperless push with an existing backlog, not a clean slate. Mine was six months of accumulated client contracts, invoices, and two years of insurance paperwork I'd been meaning to digitize since we moved. The mistake is trying to clear it in one long marathon session, which is exhausting enough that most people quit halfway through and never come back to it.
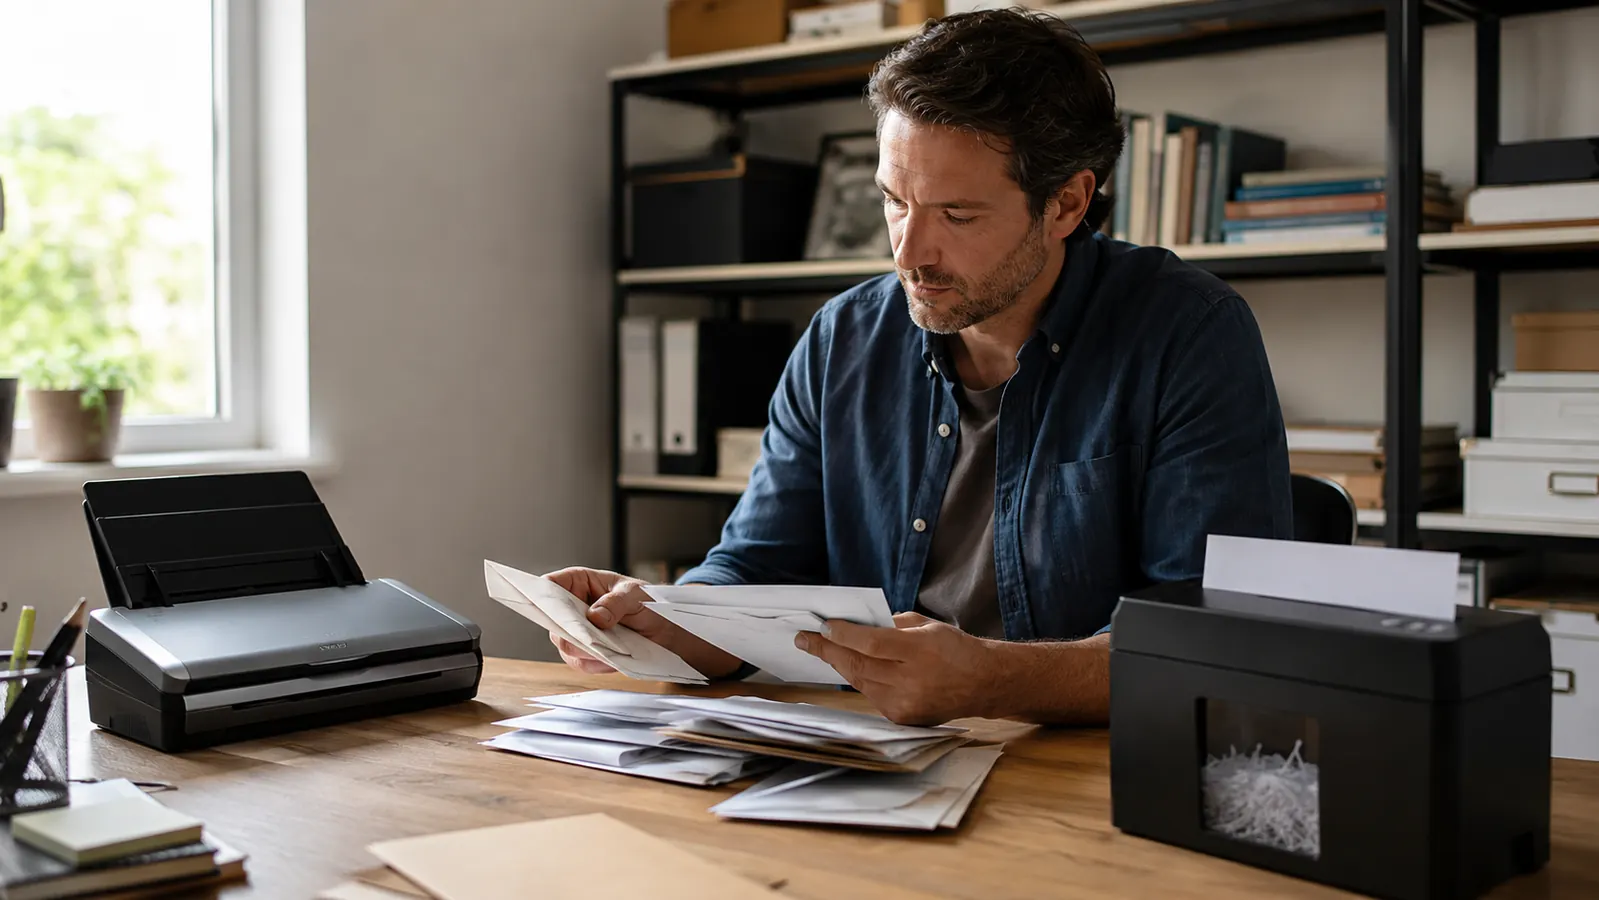
Instead, I ran five-minute sessions, usually right before my first call of the day while my coffee was still too hot to drink. Grab whatever's on top of the pile, feed it through the Brother DS-640 one sheet at a time, save it into the right folder using the naming pattern from step two, and stop when the timer's up. Because the DS-640 is a single-sheet feed scanner rather than a stacked automatic feeder, that pace felt natural, five or six pages fit comfortably into five minutes without rushing.
That approach cleared roughly six months of backlog in about three weeks of these short daily sessions, which is a far more realistic goal than blocking off a Saturday you'll probably cancel on. If your backlog is heavier, stretch it to four or five weeks. The point isn't speed, it's building a habit small enough that you'll actually keep it, one scanning session at a time until the home office paper pile is genuinely gone. Folded or crumpled pages, like old receipts, sometimes need a second pass through the scanner, so I keep a small stack of those aside rather than let one stuck sheet slow down the whole session.
Step 4: Intercept New Paper Before It Piles Up Again
Clearing a backlog is the easy part, honestly. The reason most paperless attempts fail six months later is that nobody built a system for new paper arriving every week. In my home office, that's client contracts sent by vendors who still print and mail, quarterly expense invoices, and the steady stream of forms my daughter's school sends home. The fix is a rule, not a memory: nothing new sits in the tray for more than a day.
Every piece of paper that lands on my desk now gets scanned the same day it arrives, or the next morning at the latest, as part of my regular routine rather than a special task. Because the Brother DS-640 is already sitting there plugged in, this takes less time than finding a stamp used to. A signed contract or an invoice goes through in under a minute, gets named and filed immediately, and never has the chance to become part of a new pile.
The habit that makes this stick is pairing the scan with the decision about the original. As soon as a page comes off the Brother DS-640, I decide right then whether the paper copy needs to be kept or can go, instead of setting it aside to decide later. Later almost never comes, which is how paper piles form in the first place. I also do a quick end-of-week check on Friday afternoons, thirty seconds to confirm the tray is actually empty, which catches the rare piece of mail that slipped past the same-day rule.
Step 5: Back Up Your Scans and Handle the Original Paper Correctly
Going paperless in a home office isn't complete until you've dealt with two things: where the digital files actually live long-term, and what happens to the paper you just digitized. On the digital side, I keep everything in cloud storage that syncs automatically, so a laptop failure or a spilled coffee doesn't erase six months of scanned contracts. If you're not already using cloud storage for work documents, this is the moment to set it up, since a folder full of scans sitting only on one hard drive isn't meaningfully safer than the paper version.
On the paper side, not everything gets shredded immediately. Signed contracts and anything with a legal retention requirement, tax documents in particular, go into a small labeled folder in a drawer even after they're scanned, just as a backup. Everything else, routine invoices, expired insurance paperwork, old school forms once the school year ends, gets shredded once I've confirmed the scan opened cleanly and the file is saved in the right folder. That confirmation step takes ten seconds and has saved me from ever losing a document I actually needed.
The searchable PDF output from the Brother DS-640's iPrint&Scan software runs OCR automatically, which means once a document is scanned and backed up, I can find it by typing a client's name or an invoice number into search rather than remembering a folder path. I've tested this by searching for a specific client's name inside a folder of dozens of scanned contracts, and the right file surfaced instantly every time. That's the real payoff of this whole system: paper that used to sit in a tray as a source of low-grade guilt now takes less time to locate than it used to take to find in a filing cabinet.
What Else Helps
A few smaller habits round out this system once the core five steps are running. I keep a small shredder next to the scanner so disposing of a paper copy is as low-friction as scanning it in the first place, no extra trip required. I also do a five-minute review at the end of each month, checking that every folder is named consistently and that nothing slipped through as a stray IMG file. If you're the type to get a paper form once a year, like a vehicle registration renewal or a rare insurance mailing, put a recurring reminder on your calendar to scan it the day it arrives, since one-off documents are the ones most likely to slip past a routine that's otherwise built around weekly patterns. Finally, if you handle sensitive client or financial paperwork, set up two-factor authentication on whatever cloud storage holds your scans, since a paperless home office is only an improvement if the digital version is actually more secure than the drawer it replaced.
Paper that used to sit in a tray as a source of low-grade guilt now takes less time to locate than it used to take to find in a filing cabinet.
Start Your Paperless Home Office Today
The Brother DS-640 is the tool that made this entire five-step system realistic in my own home office, compact enough to leave on the desk permanently and fast enough that scanning never feels like a chore. Check today's price on Amazon and start clearing your own backlog this week.
Amazon Check Today's Price on Amazon →