
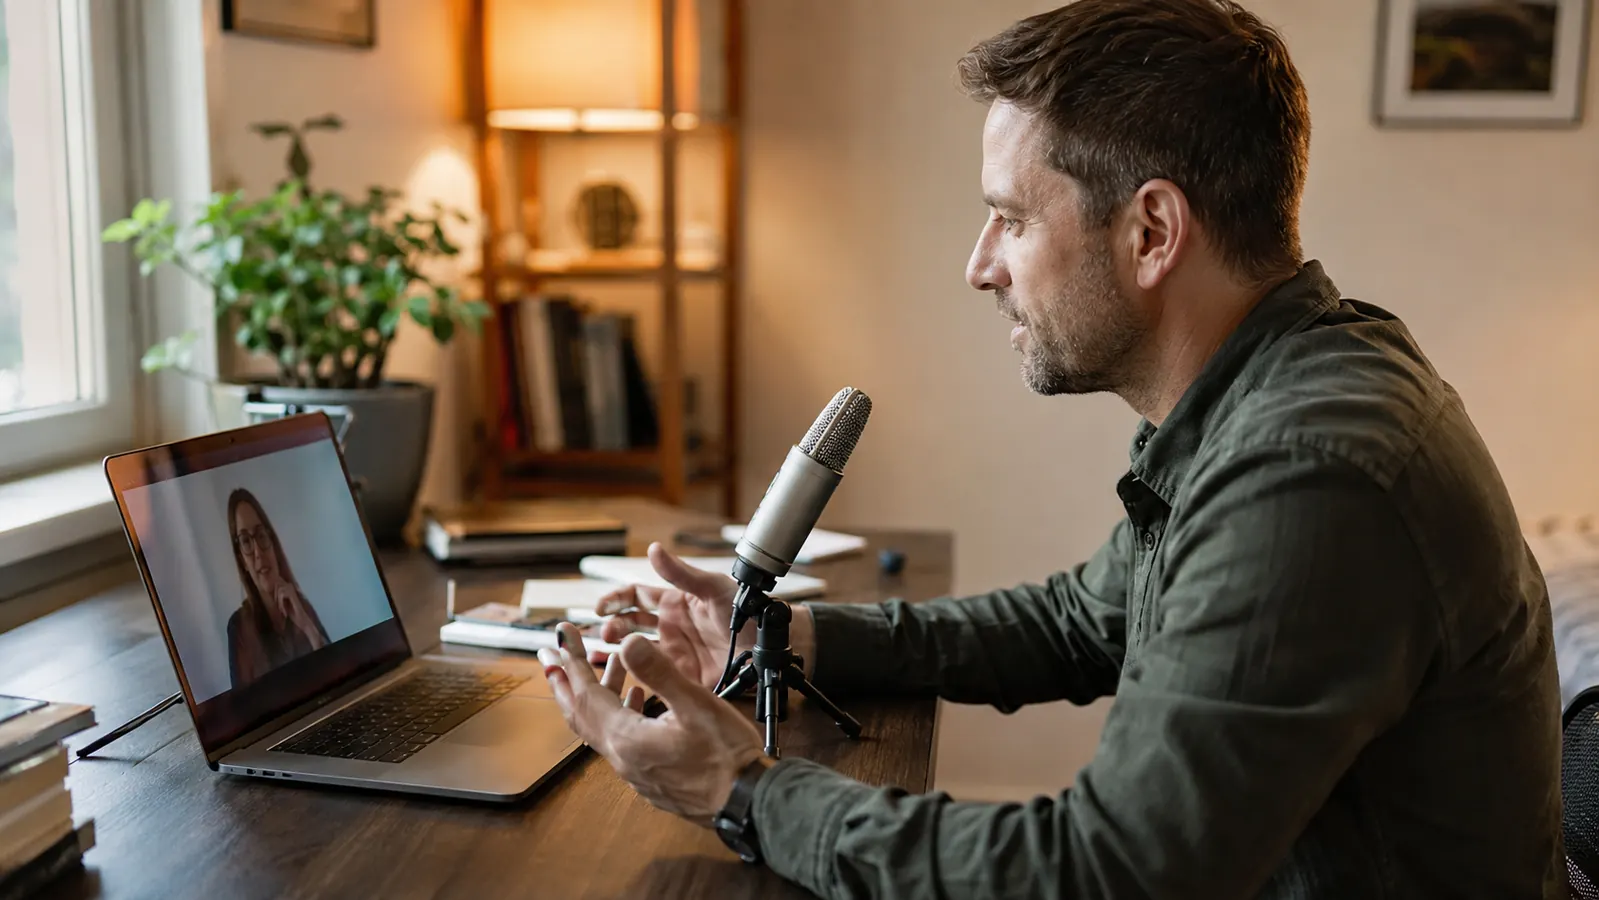
Three years into working from home, I got pulled aside after a client call and told, gently, that I sounded like I was talking from inside a tin can. That's not the feedback you want when you're the one running the meeting. My laptop's built-in mic was the entire problem, and it took a twenty five dollar USB microphone, a FIFINE K669S sitting on a small tripod next to my monitor, to fix it for good.
Nobody tells you when you take a remote job that audio quality becomes part of how people judge your competence. It shouldn't work that way, but it does. A muffled, tinny, or echoey voice on a video call reads as unprepared, even when the actual work behind it is solid. I've watched sharp people get talked over on calls simply because their audio made them hard to follow, and I've watched the opposite happen the moment someone fixes it. This guide is the exact process for fixing it, not a vague nudge to buy better gear and hope.
Sounding professional on video calls isn't about owning expensive gear or building a soundproof booth in your spare bedroom. It comes down to five specific things, done in the right order: picking a real desktop mic instead of trusting your laptop, placing it correctly, setting the gain once, testing it under real conditions, and building two small habits around it so it stays that way. I've run this exact process through eight years of daily remote IT project management calls, and this is the actual routine, not a vague 'get a good mic and you're set' answer.
Stop apologizing for your audio before every call
The FIFINE K669S is a metal condenser USB microphone built for exactly this: daily Zoom stand-ups, client calls, and online meetings from a home desk. It plugs into a USB port, has a physical gain dial and mute button built into the body, and works on Windows and Mac with no drivers to install. It's step one of the five below.
Amazon Check Today's Price on Amazon →Step 1: Swap Your Laptop Mic for a Dedicated USB Mic
A laptop mic is built to pick up broad, general sound from wherever the machine happens to sit, which is usually below your chin, aimed somewhere between your neck and your keyboard. It has no real gain control worth adjusting, no directional pattern aimed at your voice, and it picks up typing, fan noise, and whatever's bouncing off your monitor along with your voice. Software noise suppression in Zoom or Teams can clean some of that up, but it's patching a hardware problem after the fact, not fixing it.
A basic desktop condenser USB mic solves this at the source. The FIFINE K669S is what I switched to, and it works because it's designed to be aimed at your mouth from a few inches away, has an actual metal gain dial on the body instead of software guessing at your volume, and sits on its own stand instead of wherever a laptop happens to be angled that day. It plugs straight into a USB port and shows up as a selectable input in Zoom, Teams, or Google Meet within seconds, no driver install required on either Windows or Mac.
The K669S also has a cardioid style pickup pattern, meaning it's built to favor sound coming from directly in front of it and reject a good chunk of what's coming from the sides and behind. That's the practical reason a desktop condenser mic sounds cleaner than a laptop mic in the same noisy room. The laptop mic hears the whole room evenly. The desktop mic hears you, and treats everything else as background.
You don't need a two hundred dollar podcasting mic to sound professional on a video call, and you don't need to learn audio engineering either. Every major call platform compresses your audio anyway once it leaves your machine. What actually moves the needle is clean input at the source, and that's the one job a dedicated USB mic does better than a laptop ever will.
Step 2: Position the Mic Correctly, Not Just Somewhere on the Desk
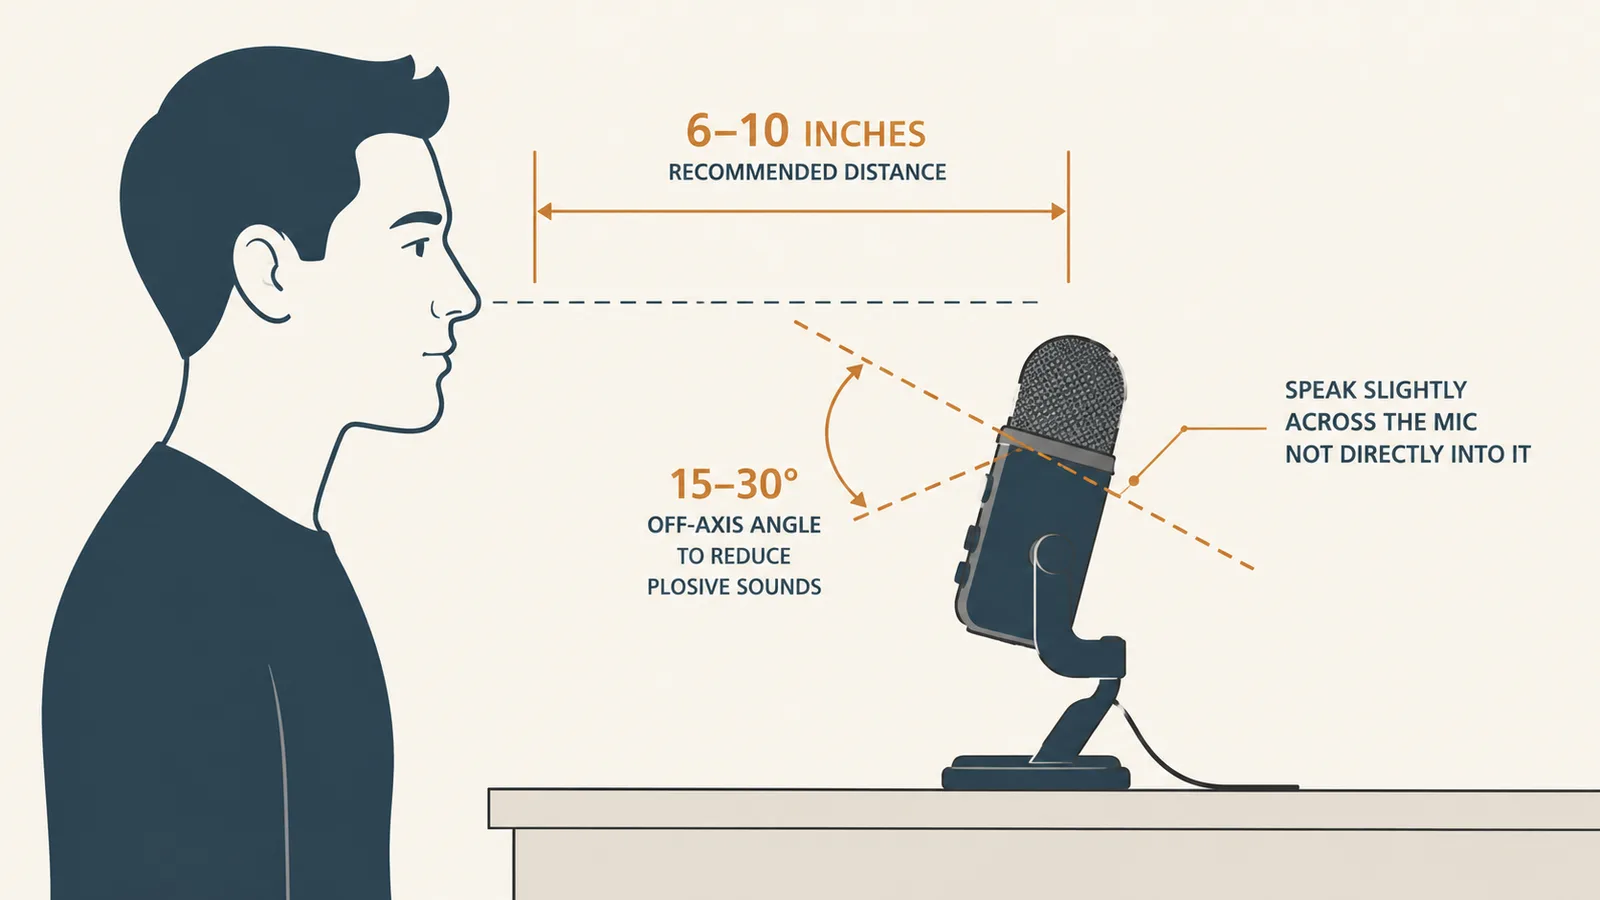
Distance and angle matter more than most people expect. Six to ten inches from your mouth is the sweet spot for a desktop condenser mic like the K669S, close enough to capture your voice clearly without also picking up the room around you, far enough that hard consonants like B and P don't cause popping. Angling the mic slightly off to the side rather than pointing it straight into your mouth cuts down on that popping without costing you clarity.
The K669S ships with its own adjustable desktop stand, so use it. Set the mic at roughly mouth height beside or just below your monitor, not down near your keyboard pointed up at your chin, which is the same mistake a laptop makes. A few inches of height adjustment on the stand is usually all it takes to get the angle right once you've found your normal seated position.
Route the USB cable behind your monitor or along the back edge of the desk so it isn't crossing your keyboard or dangling into your typing hand. And keep the mic off to the side of your keyboard rather than directly between you and it. A mic sitting right over your keys will pick up every keystroke as a sharp click on the call, which undoes a lot of the clarity you just gained.
It's worth spending two minutes finding your exact position once, rather than eyeballing it every morning. Sit in your normal chair, at your normal posture, and note where the mic ends up relative to your mouth. If you tend to lean back while you talk, place the mic slightly further in that direction so your voice doesn't drift out of range mid call.
Step 3: Set Your Gain Once, Then Leave the Dial Alone
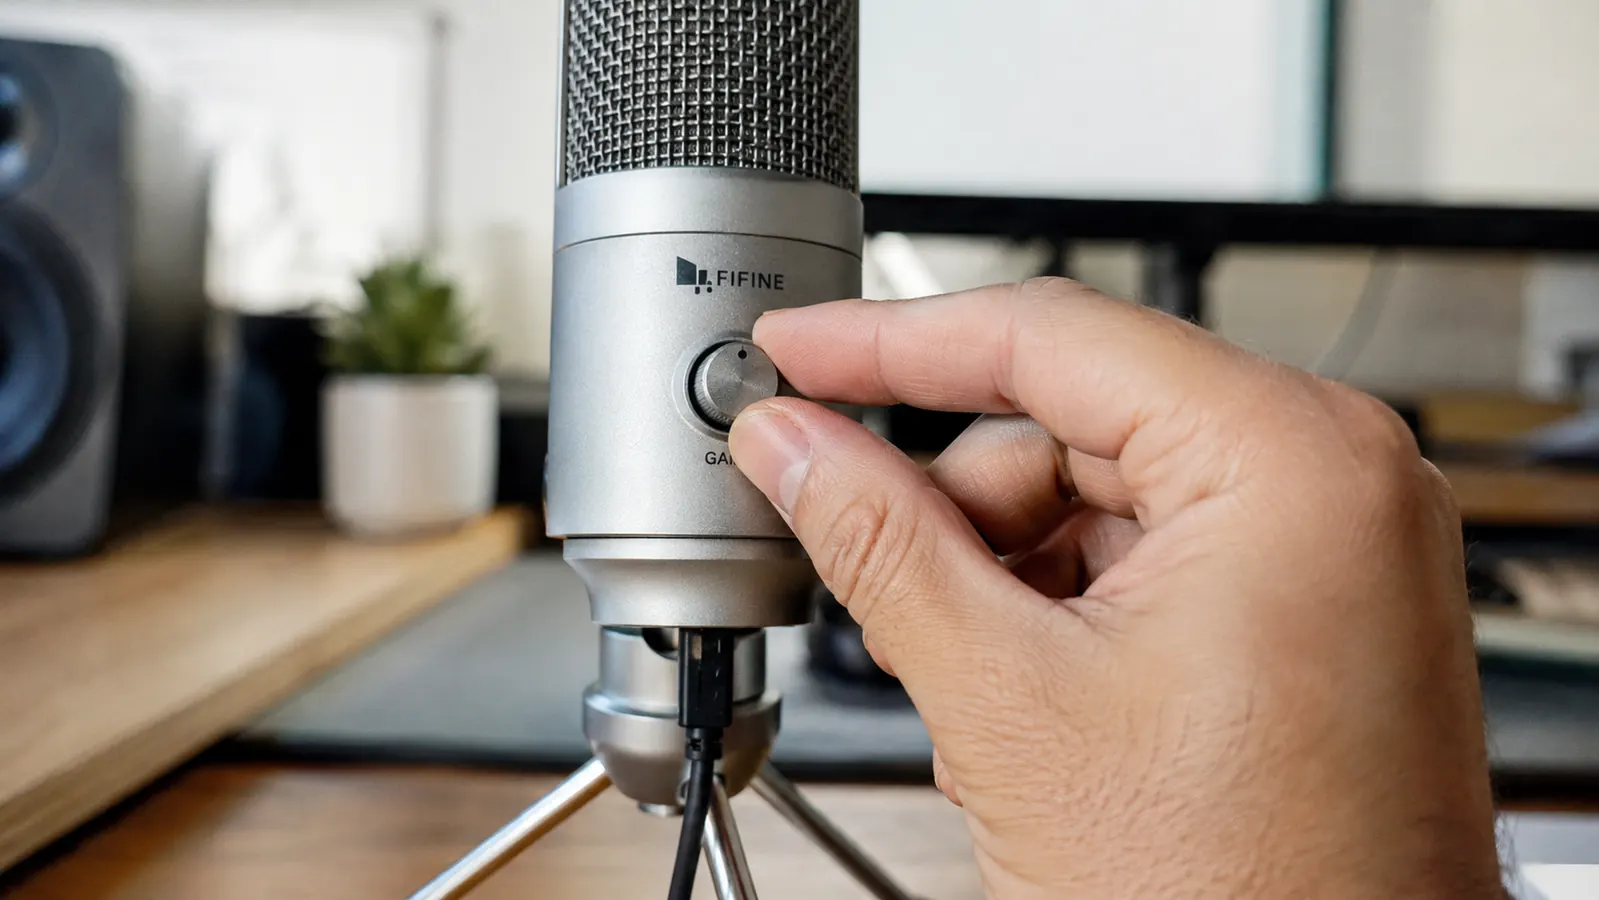
The K669S has a physical gain dial built into the base of the mic, and this is the single most underused feature on a desktop USB mic. Open whichever call app you use most, start a test call or a recording, and talk at your normal meeting volume, not louder. Watch the input level meter and adjust the dial until your voice sits comfortably in the middle of the range without spiking into the red when you laugh or raise your voice slightly.
Do this test inside the actual app you use daily, Zoom, Teams, or Meet, rather than in your operating system's sound settings. Each platform applies its own automatic gain control on top of your hardware input, and they don't all behave the same way. A level that sounds perfect in a Windows sound test can sound compressed or thin once Zoom's own processing gets added on top.
Record a thirty second test clip once you've dialed it in, then play it back on a different device, your phone, a set of speakers, whatever you have handy. Your own laptop speakers can flatter a recording that actually sounds thin or hot on someone else's headset. Hearing it played back on unfamiliar hardware is the closest you'll get to hearing what your coworkers actually hear.
Once you find the right setting, leave it. If you share a desk or the mic gets bumped, a small piece of tape marking the dial's position takes ten seconds and saves you from re-tuning it before every call. This is a one-time setup step, not a daily task, and treating it that way is exactly why it keeps working.
Step 4: Test It Under Real Conditions Before a Real Call
A quiet test in an empty room tells you almost nothing about how you'll sound during an actual work call. Record a short voice memo or hop on a quick call with a colleague while your household is doing whatever it normally does at that hour, dishwasher running, HVAC kicking on, kids or pets in the background. Play it back and listen specifically for hiss, popping on hard consonants, or a faint electrical hum, which usually means the USB port or hub you're plugged into is the problem rather than the mic itself.
If you hear static or hum, try a different USB port directly on your laptop or desktop rather than a hub or dock, since some hubs introduce noise on the power line that a direct connection avoids. This is a five minute troubleshooting step, but it's the difference between a mic that sounds clean and one that sounds almost clean, which people notice more than you'd think on a call.
Run the same quick check on every video call platform you actually use for work, not just your favorite one. Zoom, Teams, and Meet each handle input differently enough that a mic set up perfectly in one can sound a little different in another. It's a two minute check per app, once, and it means you're never caught off guard the first time you're dropped into an unfamiliar client's platform.
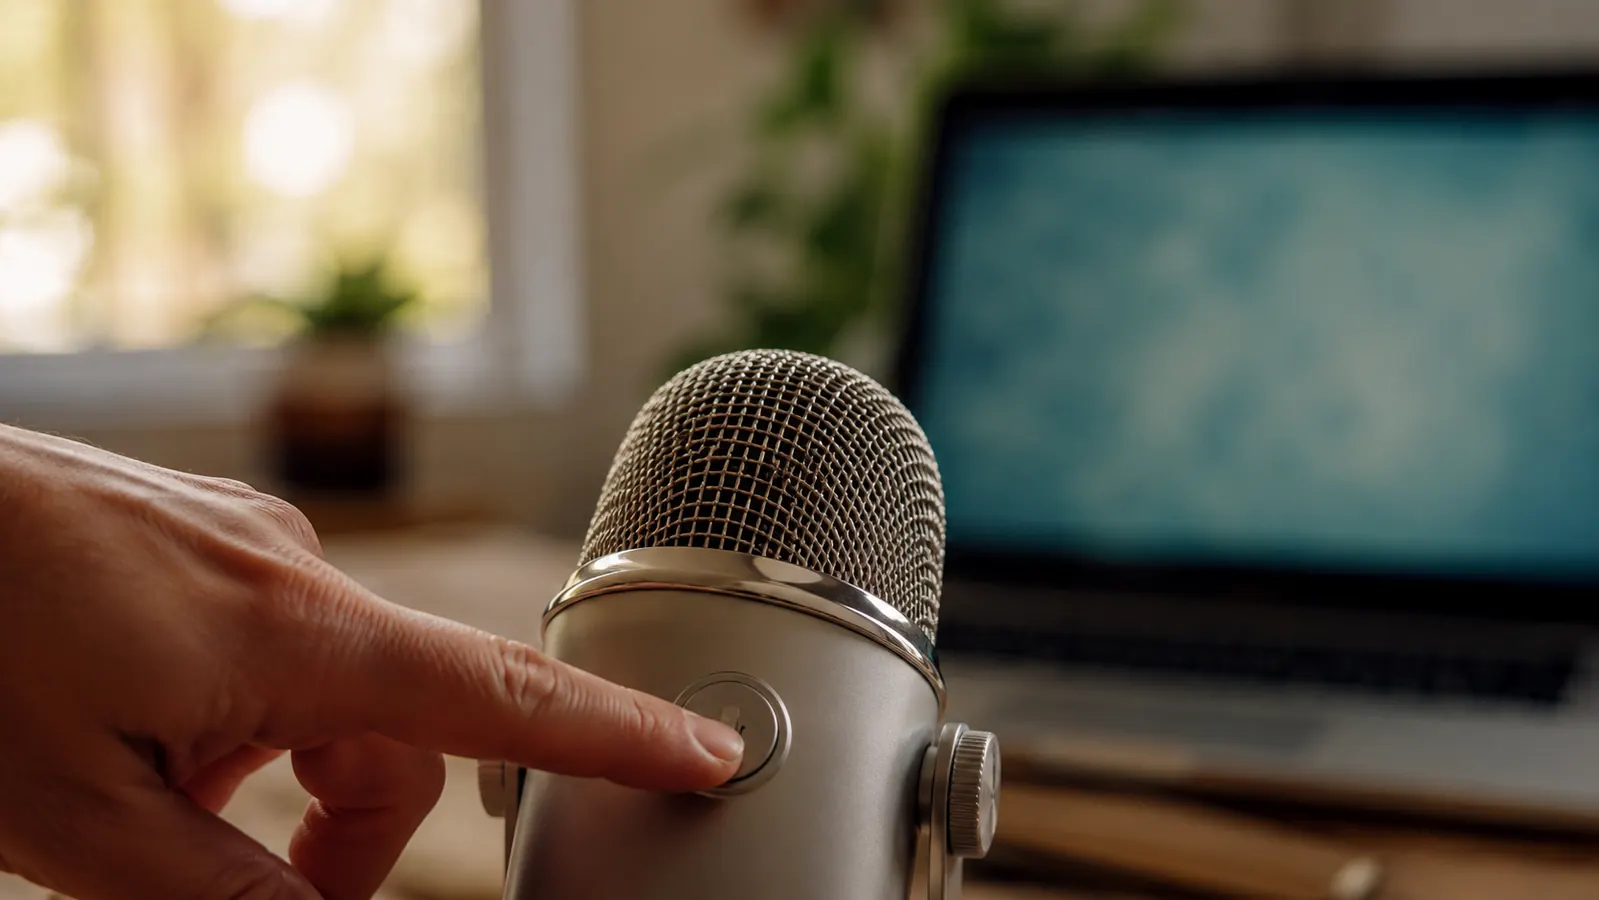
While you're testing, find the physical mute button on the mic body itself. The K669S has one built into the top of the unit, and learning where it is by feel means you can mute instantly for a cough or a barking dog without hunting through your call app's toolbar first. That half second of delay is usually the difference between a clean cough and one that makes it onto the recording.
Step 5: Build Two Habits That Keep It Sounding Professional
The first habit is a five second sound check before joining any call with more than two people. Say a single sentence out loud before you unmute for the first time, and glance at your app's input meter if it's visible. This catches the rare case where a cable came loose or your system defaulted back to the laptop mic after a reboot, both of which happen more often than you'd expect and both of which are invisible until someone asks you to repeat yourself.
The second habit is keeping the mic's position stable. Once it's placed and the gain is set, treat the stand as fixed furniture, not something to shove aside when you need desk space. If it gets knocked or moved, redo the distance and angle check from step two before your next call rather than assuming it landed back in the same spot. These two habits take under a minute combined, and they're the reason the setup keeps paying off months after you first installed it, not just on day one.
A third thing worth doing, though it's more maintenance than habit, is wiping the mic's metal grille down occasionally and keeping it away from a direct blast of desk fan or HVAC vent air. Neither will damage a desktop condenser mic outright, but a steady stream of air hitting the capsule shows up as a low rumble on a call that's easy to mistake for a mic problem when it's really just placement.
What Else Helps
A good desktop mic solves the biggest chunk of the problem, but it isn't the only variable. A closed door and a rug or curtain in the room cut down on echo bouncing back into the mic, which matters more in a bare spare bedroom than a furnished one. Muting yourself by default when you're not actively speaking in a larger meeting also does more for perceived professionalism than most people realize, since it removes ambient room noise from the call entirely between your turns to talk.
Lighting and camera framing affect how people read your professionalism too, but audio is the piece that actually determines whether people can follow what you're saying, which is the whole point of being on the call in the first place. None of these extras replace the mic itself. They just get you the rest of the way once the core setup, the actual USB mic on your desk, is already handled.
You don't need a soundproof booth to sound professional on a video call. You need six inches of distance, a gain dial set once, and a mic aimed at your mouth instead of your keyboard.
Your laptop mic was never going to fix this on its own
The FIFINE K669S handles steps one through three by itself: metal desktop body, physical gain dial, plug and play USB with no drivers to fight. It's the same twenty five dollar mic I've run through eight years of daily video calls, and it's still the first thing I recommend to anyone who's been told their audio sounds off.
Amazon Check Today's Price on Amazon →